WTR54GS
From DD-WRT Wiki
Contents |

Hardware v1
- Broadcom @ 200MHz
- 4mb flash
- 16 mb ram
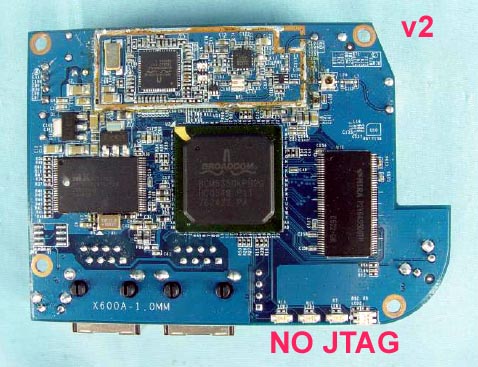
Hardware v2
- Broadcom @ 200MHz
- 2mb flash
- 8 mb ram
Installation on v1
Special thanks to Tornado
test
- download and install Sercomm utility
- download WTR upgrade file WTRV1_sercomm-r3.bin
- download latest v24 RC5 (or above) mini
- download Linksys TFTP utility
1) Set your PC's IP to 192.168.16.10
2) Log into WTR at 192.168.16.1, password: admin
3) Go to: Administration -> Factory defaults -> "Restore factory Defaults"
4) Click "Continue"
5) Close your browser window
6) Set your PC's IP to 192.168.1.10
7) Start Sercomm "Upgrade Utility"
8) Select your ethernet adapter
9) Press "Browse target" button
10) MAC of your WTR will apear in "Devices List"
11) Press "Files", select WTRV1_sercomm-r3.bin
12) Press "Upgrade", wait until upgrade completes, press OK
13) Important: WAIT ANOTHER 3 MINUTES
14) Start ping to 192.168.1.1 -t
15) When reply with TTL=100, start tftp (command line or Linksys TFTP utility), transfer the v24 mini
16) Observe ping, when TTL=64, you have dd-wrt installed.
17) CONGRATULATIONS!
Caveat: device's MAC will not be preserved. We are working on it.

